How to use the Padlock feature
The Padlock feature provides a simple way to provide admin access to one or more mobile app features or to force mobile app users to create an account before accessing any features in the app.
Note: The Padlock feature only allows or disallows access to features selected to be controlled. It also provides a method to lock the app completely until users are authenticated. If more granular roles or permissions are required, Padlock Pro should be used instead.
When configuring some features that provide administrative functionality, you’ll want to control access so that only designated App Owners or App Admins have the ability to access or modify them. The PWA Push Sender and the MigaPrint feature used with Commerce Pro or XDelivery are examples of common use cases where this type of configuration is required.
To prevent unwanted access to particular features (depending on feature implementation), here’s a common way to use the Padlock feature to hide features that should be restricted to designated admin user accounts.
- Drag the feature to the desired position in the list of app feature pages or into a folder with other features that will only be available to the App Admin or that are commonly used with the hidden feature.
- Add the Padlock feature to the app and configure it to hide any restricted feature such that only designated App Admins to have access to the feature(s).
- Hide the Padlock feature from the MENU but make sure it’s enabled.
- If used in a PWA, make sure that Facebook Login is unchecked in the “My Account” feature.
Using Padlock provides a more elegant way to hide the feature from end users of the Mobile App while making it easy for the App Admin to manage business or app functionality from their own mobile device. The feature is easily accessed by Admin users but others won’t know the feature is there unless granted access by the App Admin.
** Be sure to enable the App Admin(s) to access features hidden by the Padlock. **
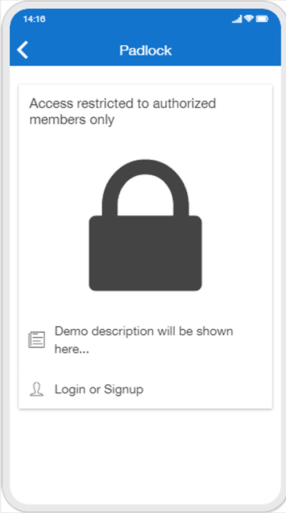
The images below show the 2 screens required for using the Padlock to hide features. Add the features you wish to hide behind the lock for Admin users, then, if required, create the Admin access for hidden features to a new or existing App user account.
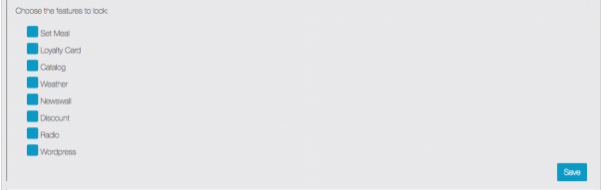
The “Restrict Access” page contains a list of the app features in the app and the options to control access.
- “Allow all the users by default“: If you select “yes”, all users who have already an account on your app, or users who create an account on your app, will have access to the locked content. If you select “no”, you will must authorize users manually from the “Users” menu.
- “Lock the entire application?“: If you choose “yes”, the entire app will be blocked. This option creates a private app. It’s useful, for example, to force your users to create accounts. If you set “Allow all the users by default” and “Lock the entire application” to “yes”. If you choose “no”, you will just block specific pages of the app.
- “Choose the features to lock“: Check the box next to the features that should be locked with Padlock
- Make sure to set “Lock the entire application?” to “no”.

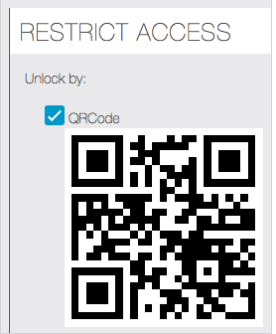
Unlock by:
- “QRCode“: Generate a QRCode that, once scanned, will unlock the padlock: (not required for all use cases but can be useful)
From the Editor > Users > Create a new user or edit an existing user to allow user to access locked pages
