How to Publish your Android App on the Play Store
In order to publish your Android App, you’ll first need to have the AAB (Android App Bundle) of your app (downloaded with the APK generator or compiled with Android Studio).
Once you have created a Google Play Developer account (and paid the $25 fee to Google), go to https://play.google.com/apps/publish and log in to your Google Play account.
If you would prefer to have the App published for you, check out our Done for you Publication Service
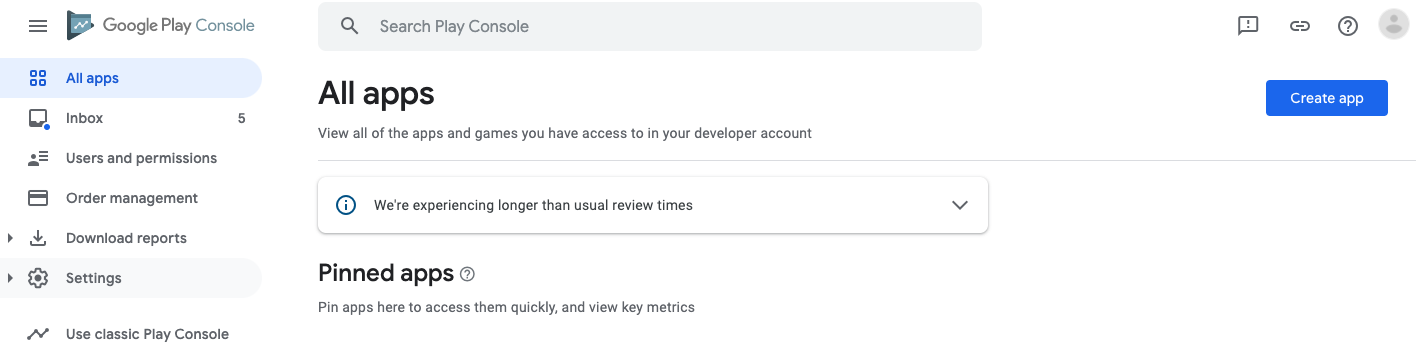
1. Click All apps and then click Create app.
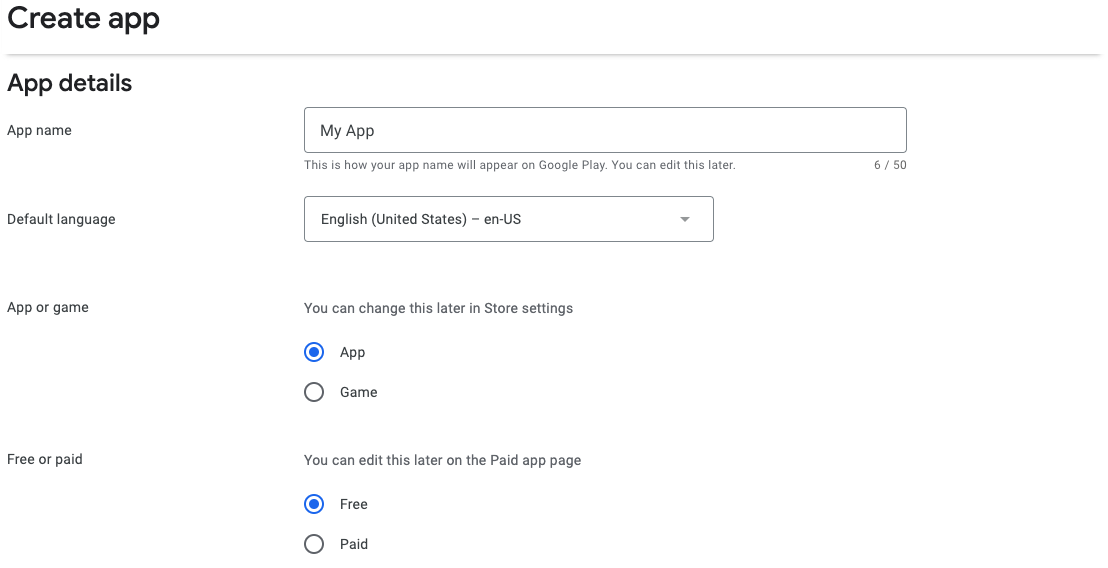
2. Enter your App name, select Default language, the type of your app (App or Game), if it’s a Free or Paid app.
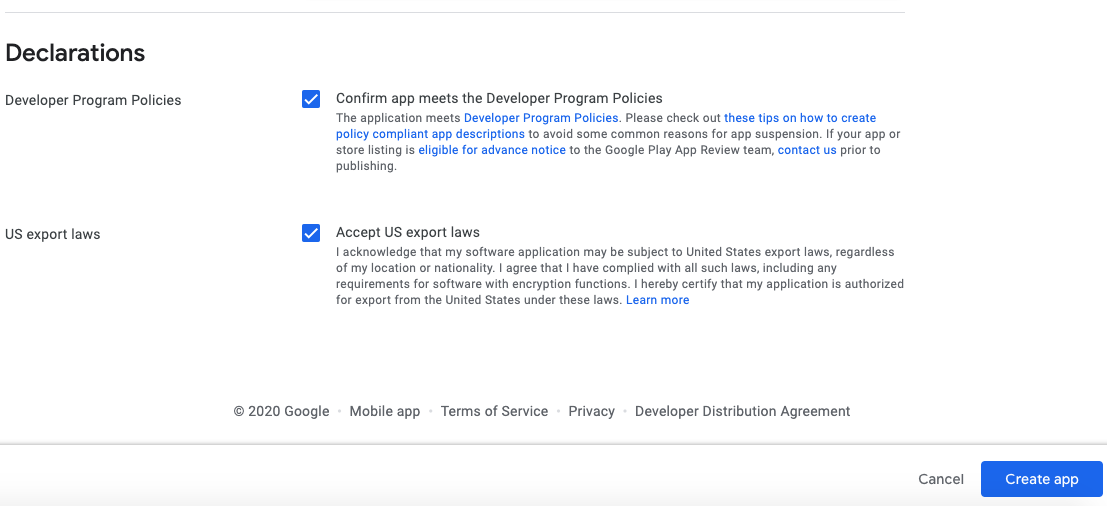
Read the Developer Program Policies and select the check-box to indicate that your app meets the Developer Program Policies.
Read the US export laws, and select the check-box to accept them and click on Create app.
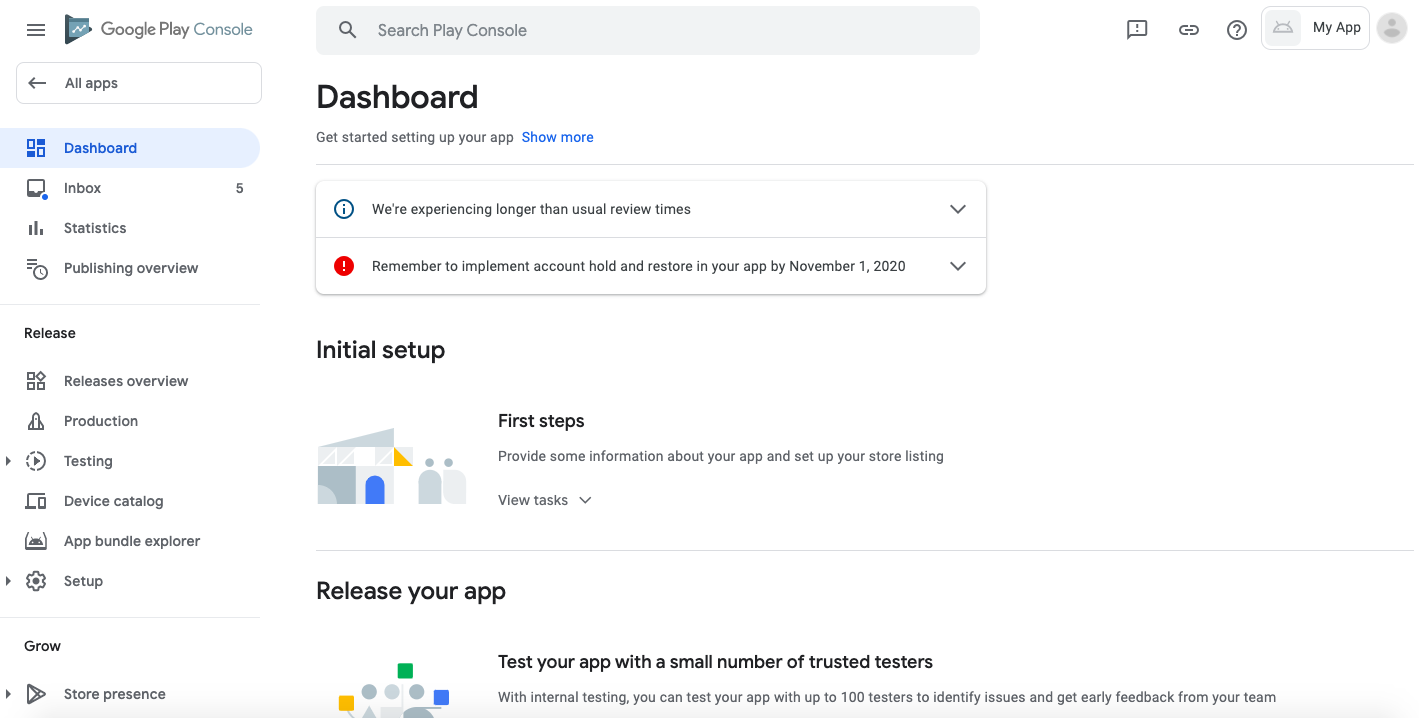
From here, the next steps can be done in the order you want. The most important being that they are all done.
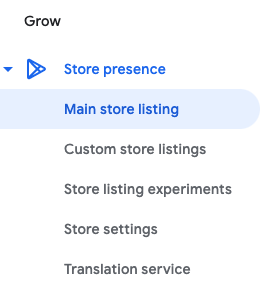
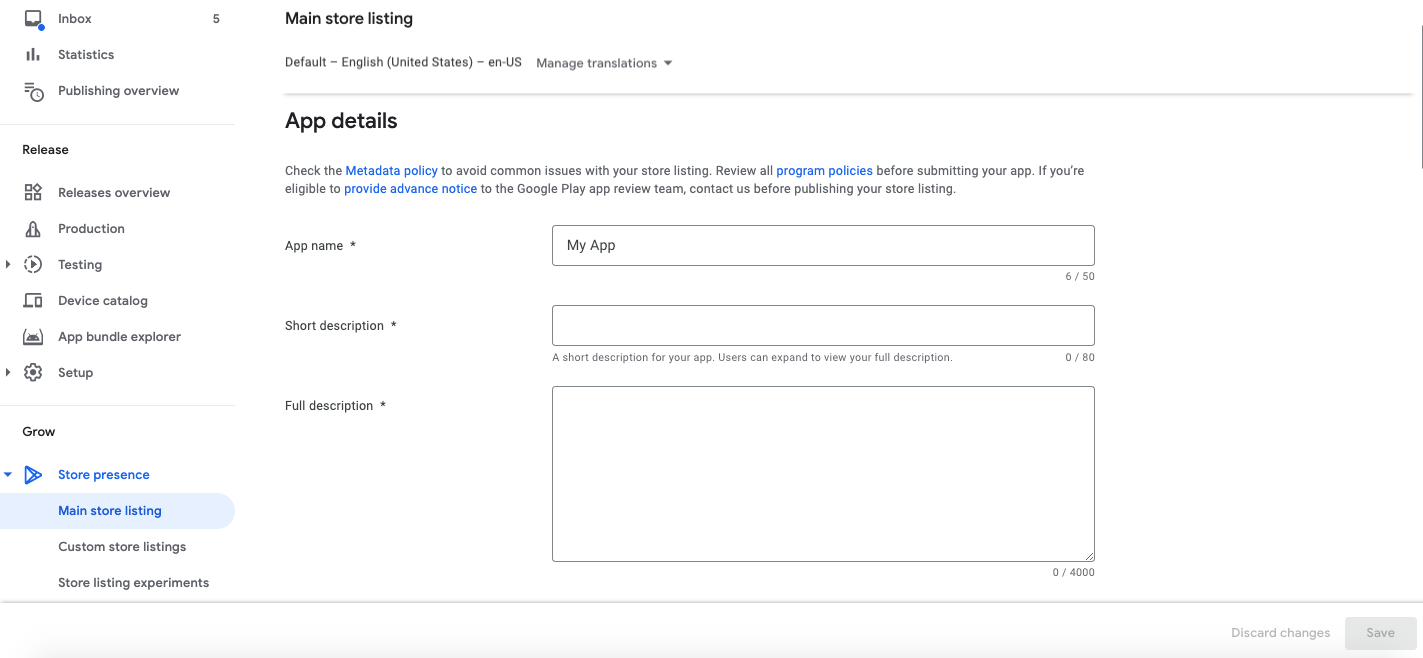
3. The Store presence > Main store listing tab (Grow).
4. In App details enter a Short and Full description of your app.
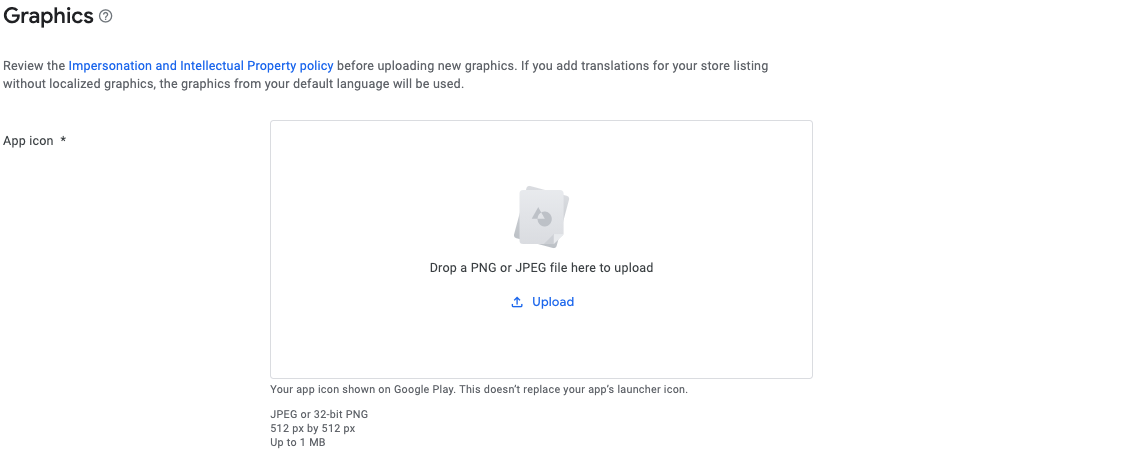
5. In Graphics, drop the App icon or click on Upload (512x512px).
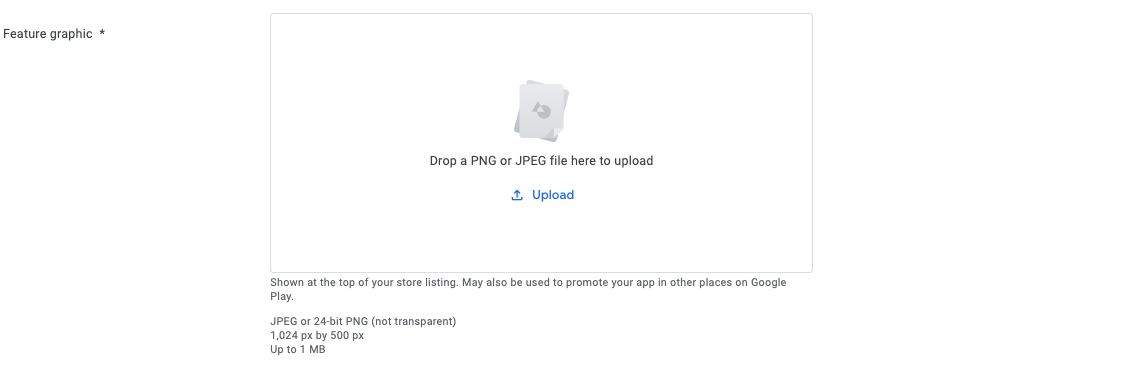
6. Feature Graphic. Click Upload or Drop a Feature Graphic. This image will be displayed at the top of your Store Listing page in the Google Play Store.
7. Then for Phone Screenshots, click Upload or drop a screenshot to add screenshots of your app.
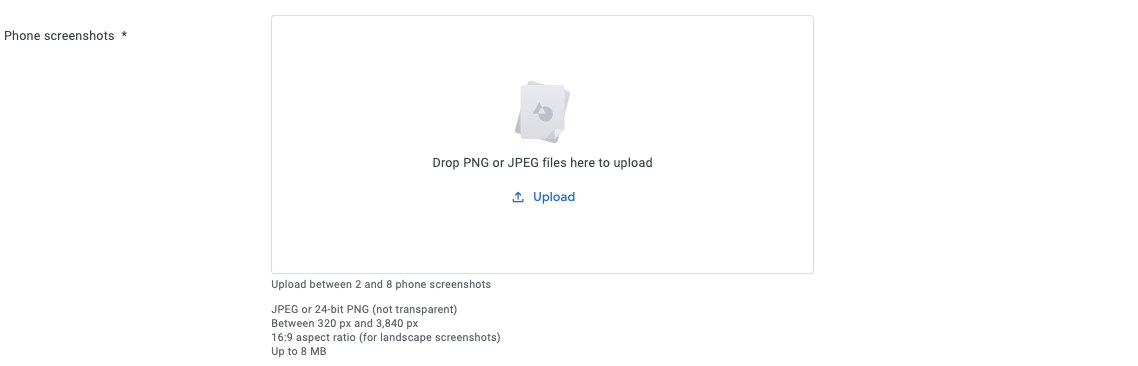
You must provide at least 2 screenshots of your app.
8. You can also add Tablet screenshots, and a Video (YouTube video URL) to promote your app, but it is optional. Once your files uploaded, click on Save.
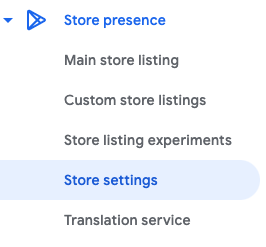
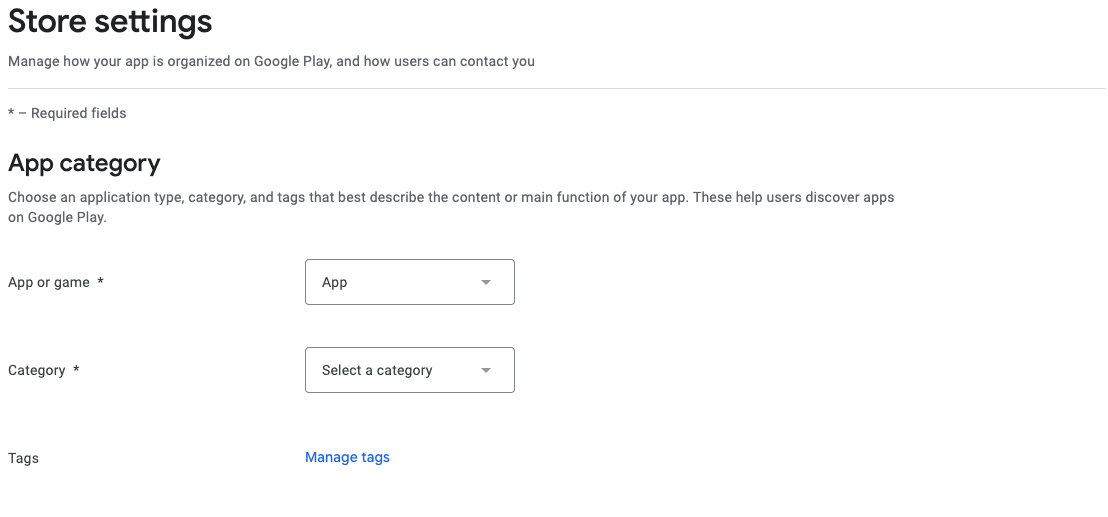
9. Store presence > Store settings tab
In App category, select Application Type and Category. You can also add Tags.
10. In Store listing contact details, enter your Email address, Phone number (optional) and Website (optional).
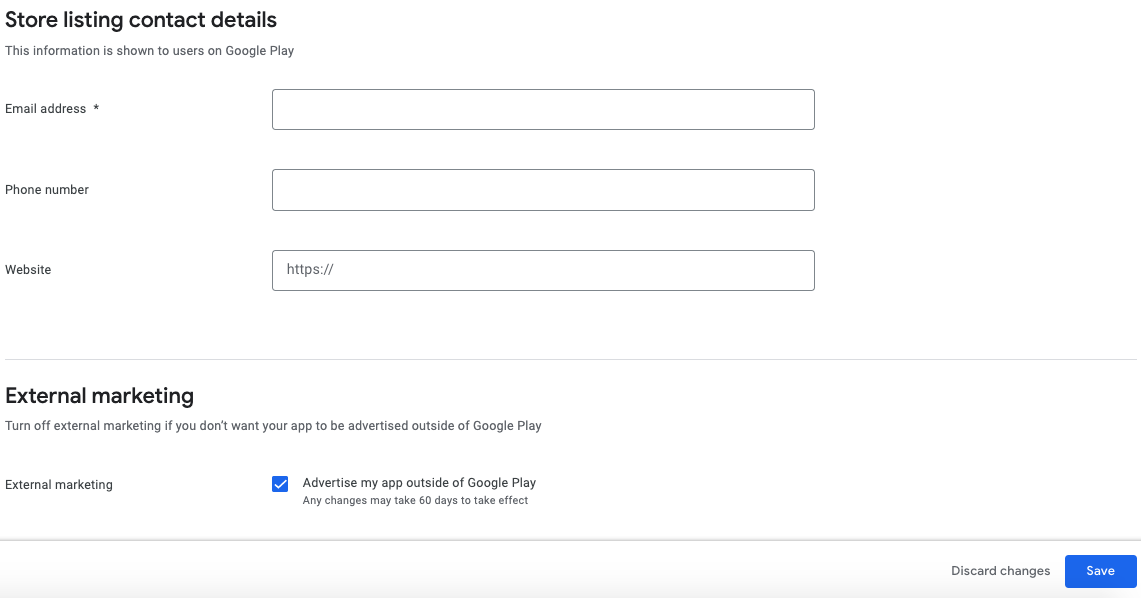
In External marketing, you can turn off external marketing if you don’t want your app to be advertised outside of Google Play.
11. Click Save.
12. Click on the Production tab (Release), and click on Countries/regions.
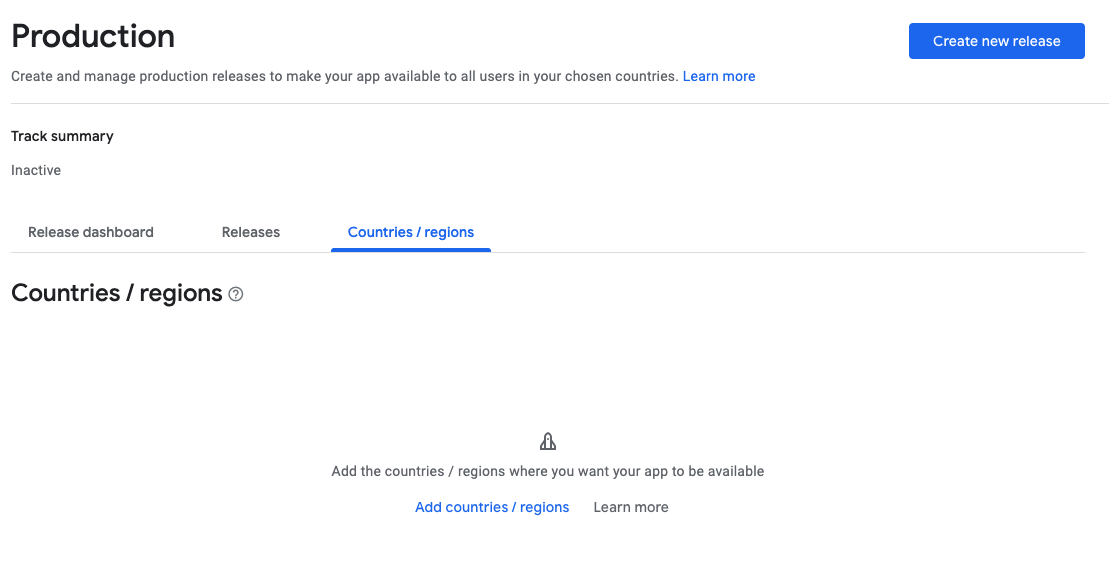
Click on Add countries/regions, select Country/region to distribute your app in all regions, or select specific countries from the list.

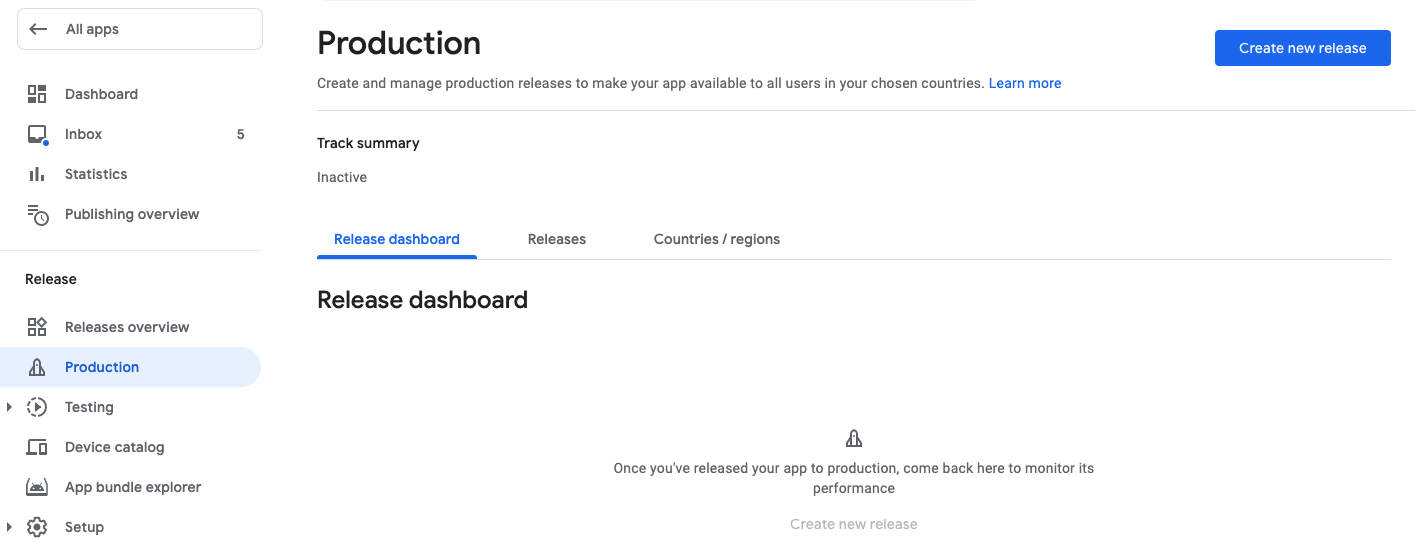
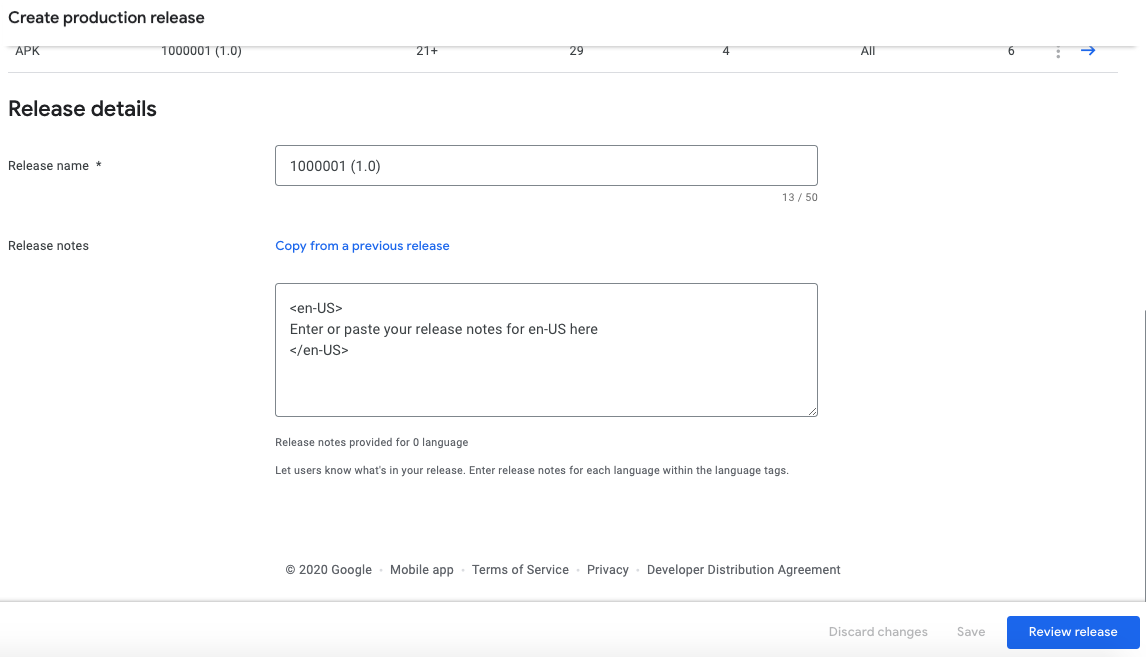
13. Return to Release dashboard tab and click on Create new release.
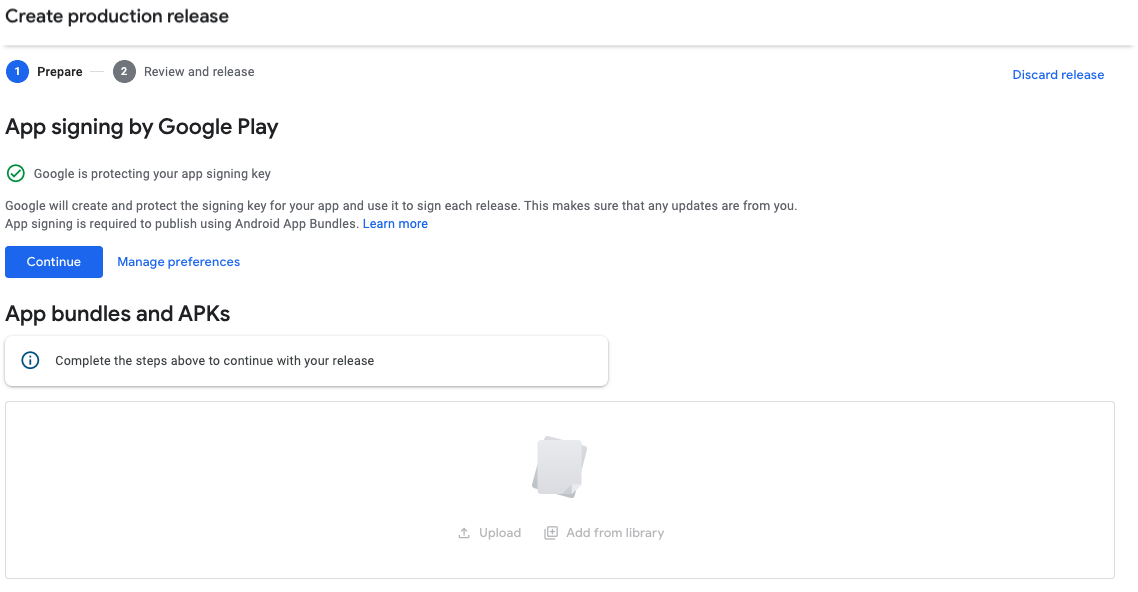
For App signing by Google Play, click on “Continue”. This will allow Google to create and protect the signing key for your app.
14. Drag and drop your AAB or click Upload, and browse to your file.
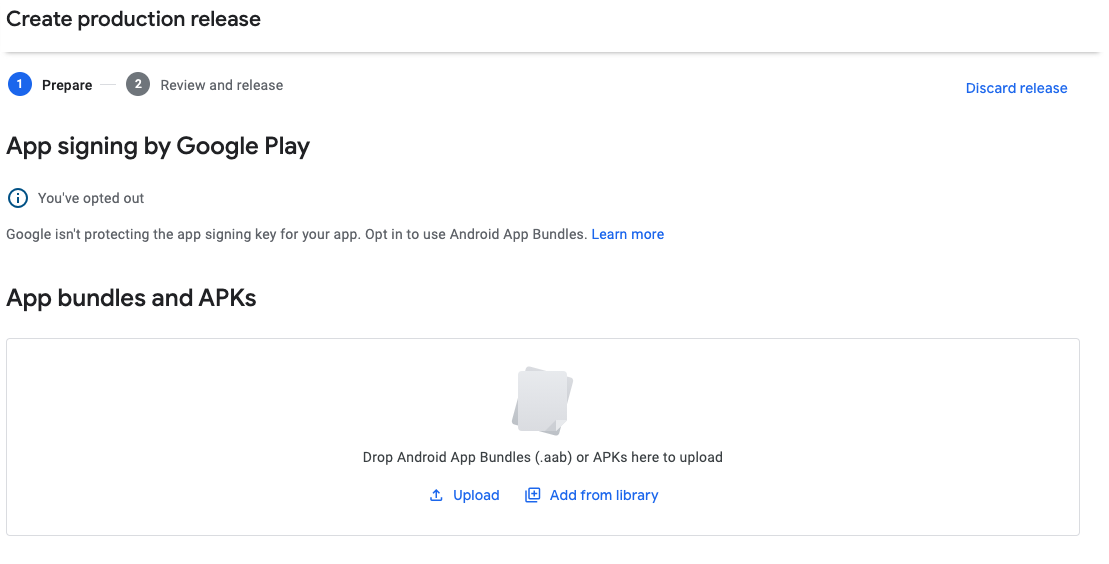
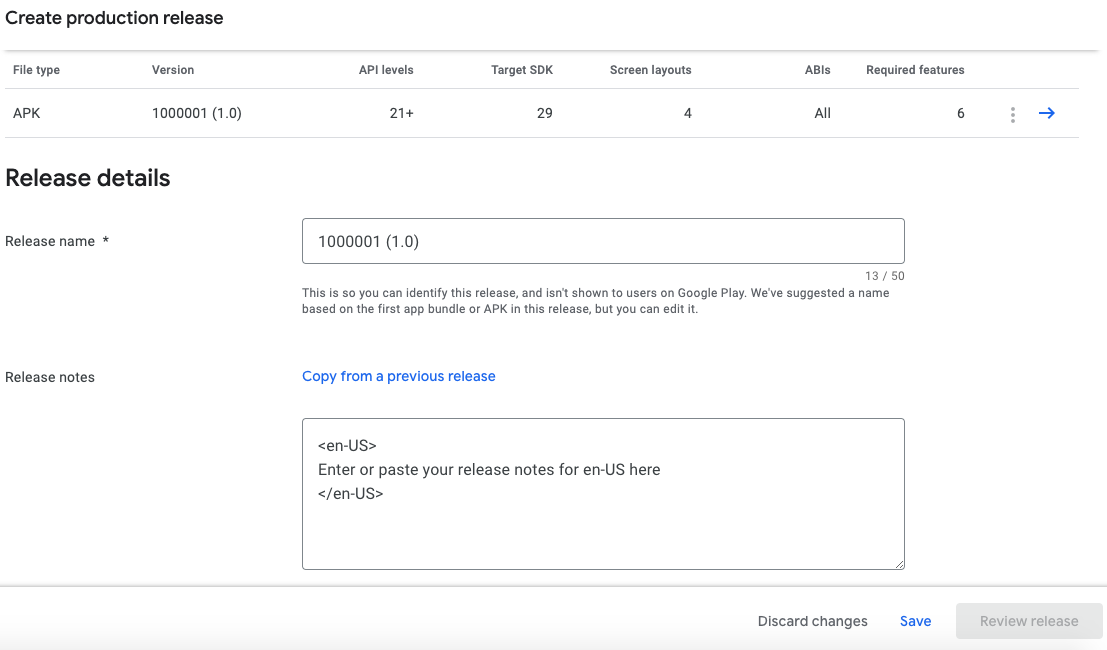
Then click on Save.
15. Click the App content tab (Policy). You must fill in each section.
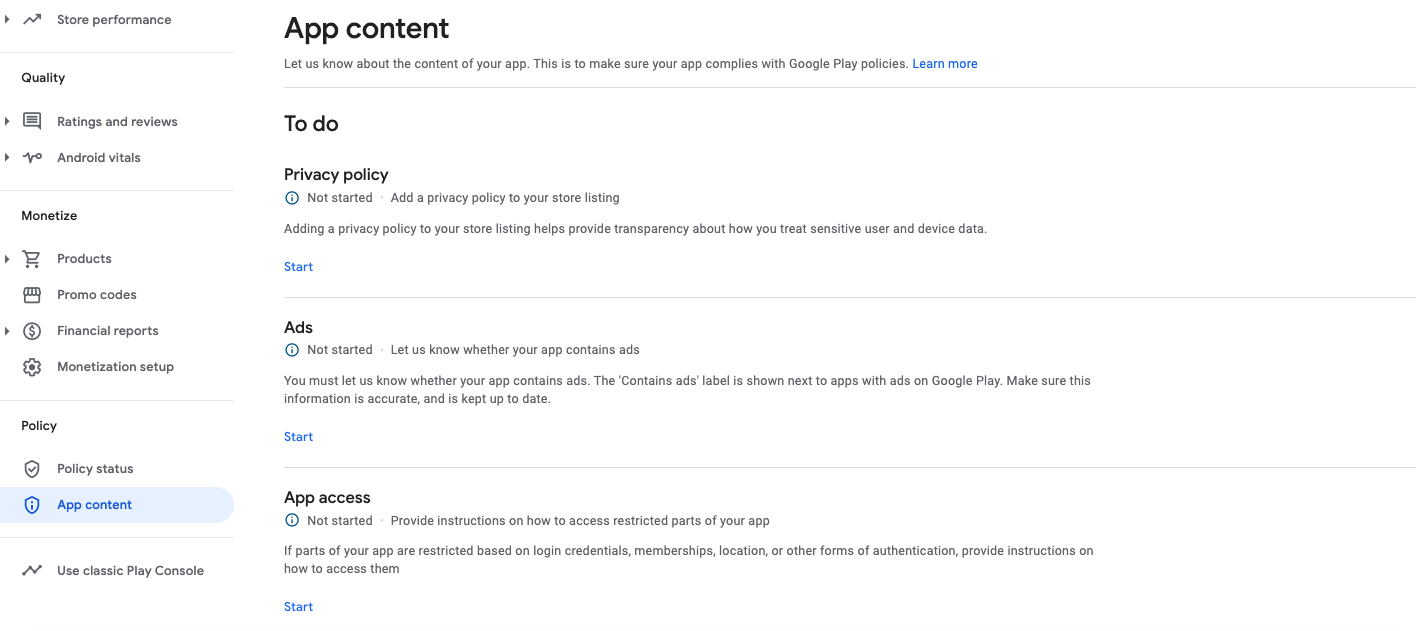
A. Privacy policy
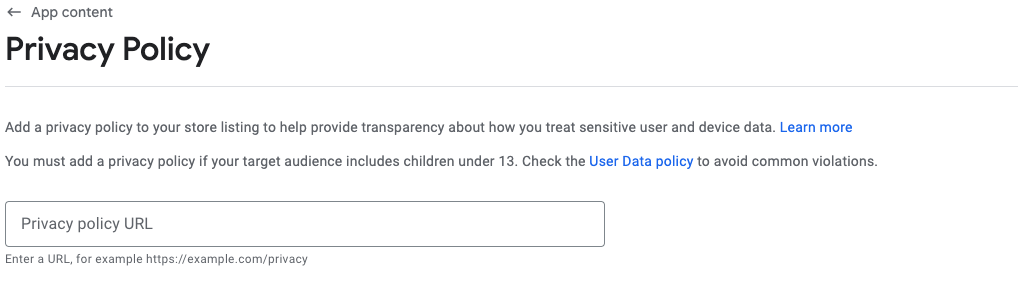
Enter the Privacy policy URL of your application and click on Save. Then click on ⟵ App content to go back.
B. Ads
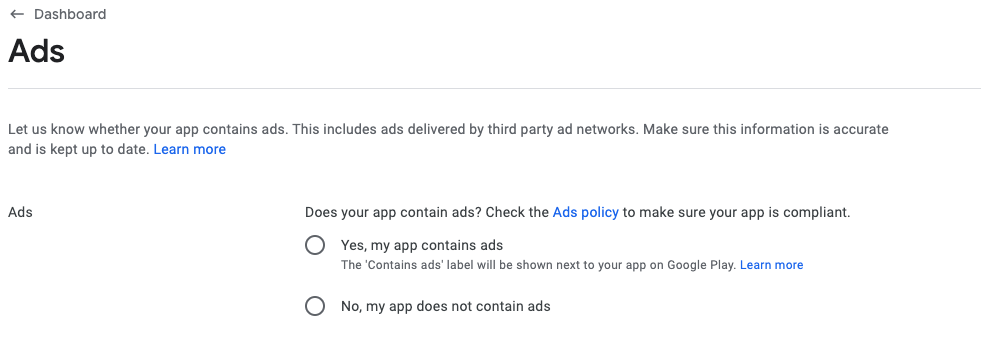
Select if your app contains ads or not (if you use AdMob for your app select Yes).
C. App Access
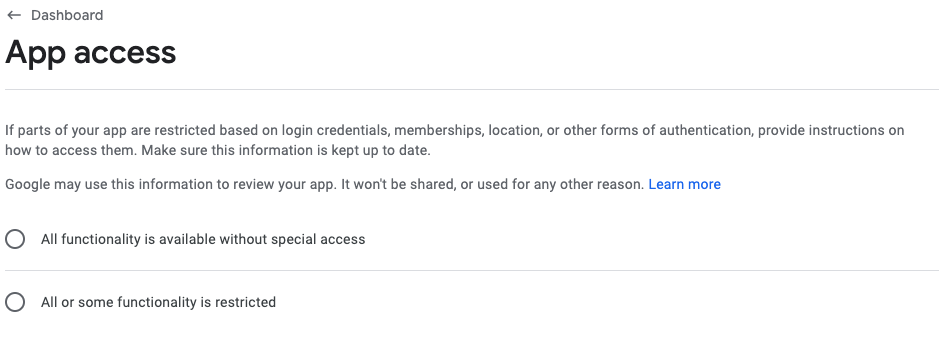
Select the app access type. If you select “All or some functionality is restricted” you will have to provide instructions and a demo account.
D. Content ratings
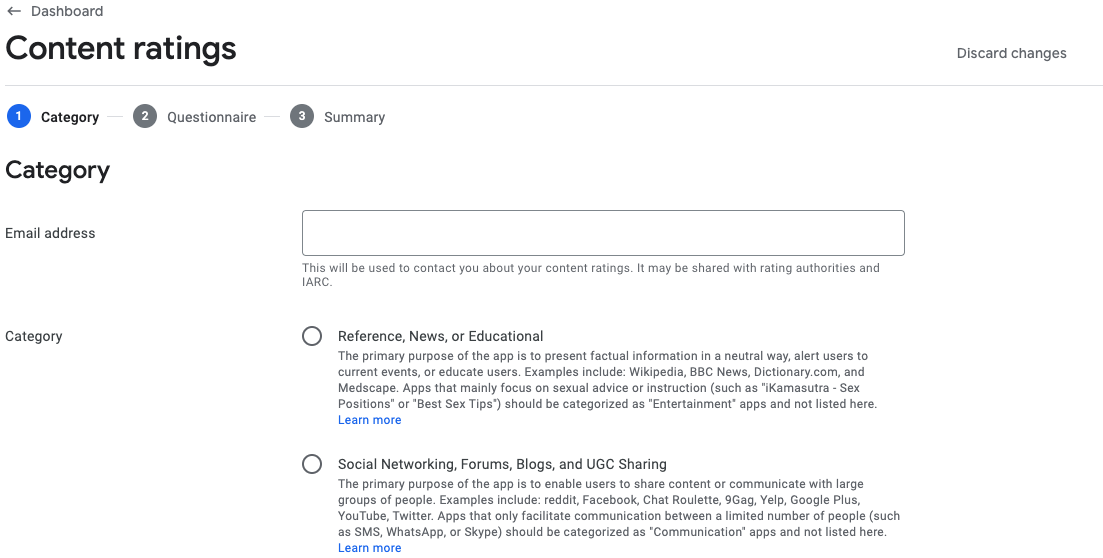
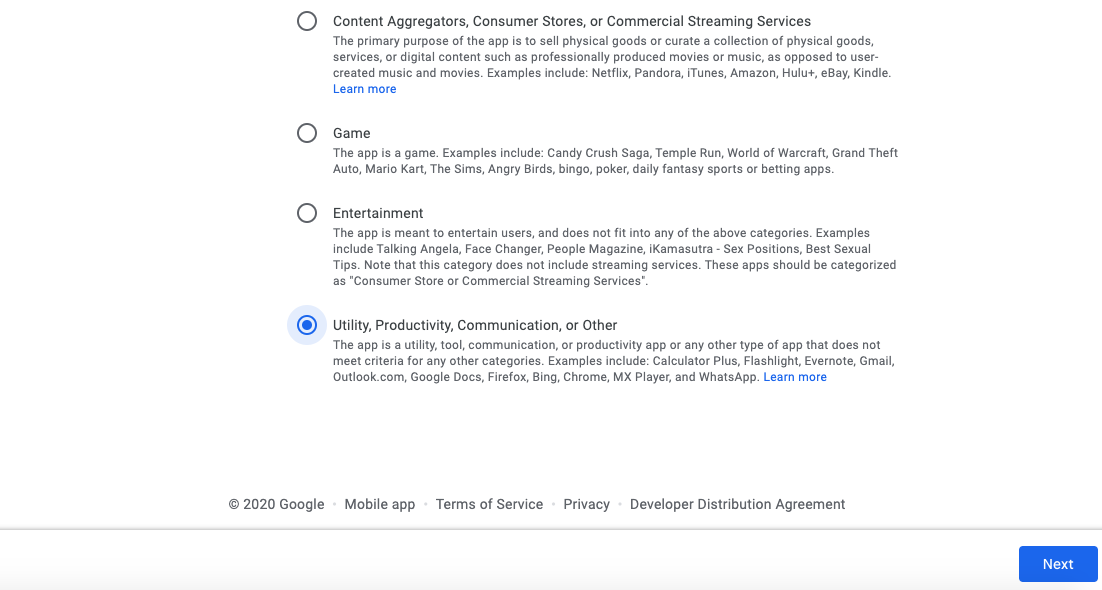
Enter your email address. Select a category and complete the questionnaire.
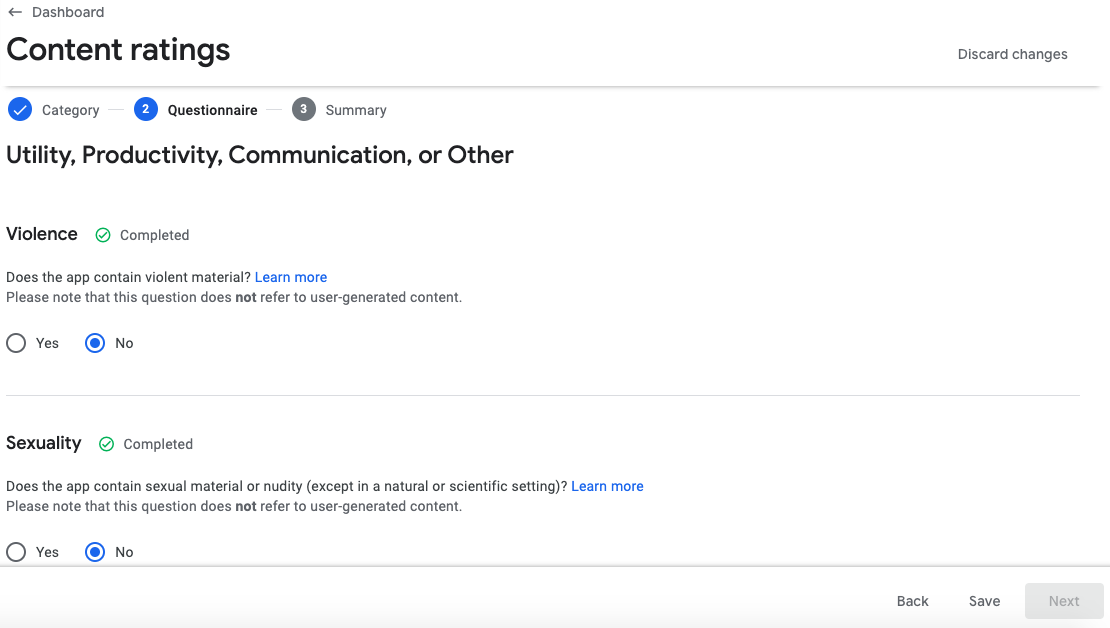
Once you have completed the questionnaire, click on Save then click on Next.
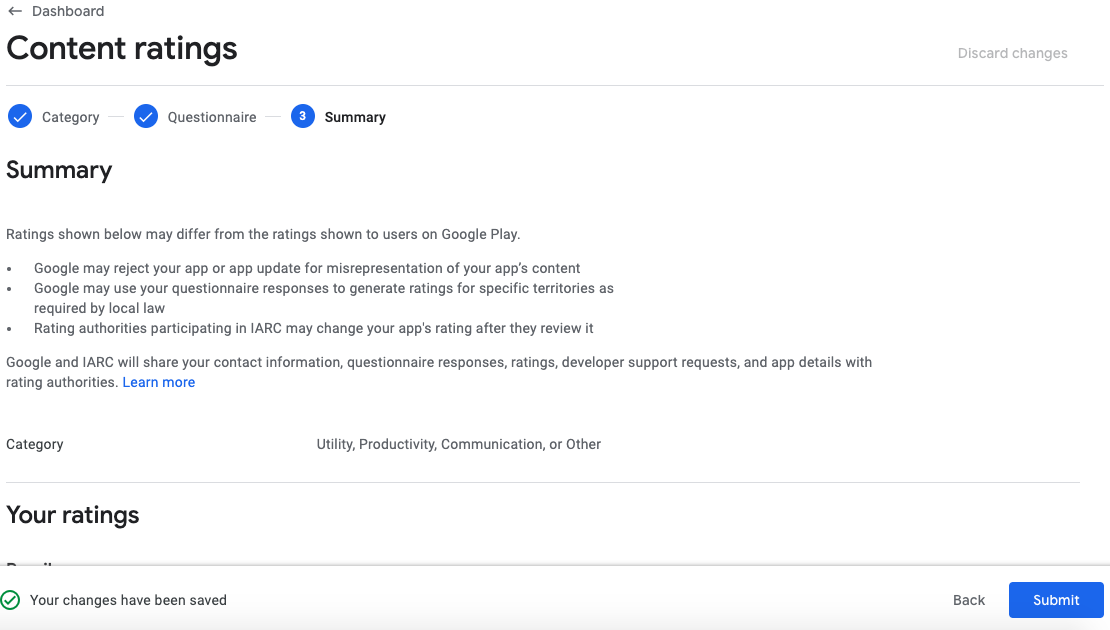
And finally click on Submit.
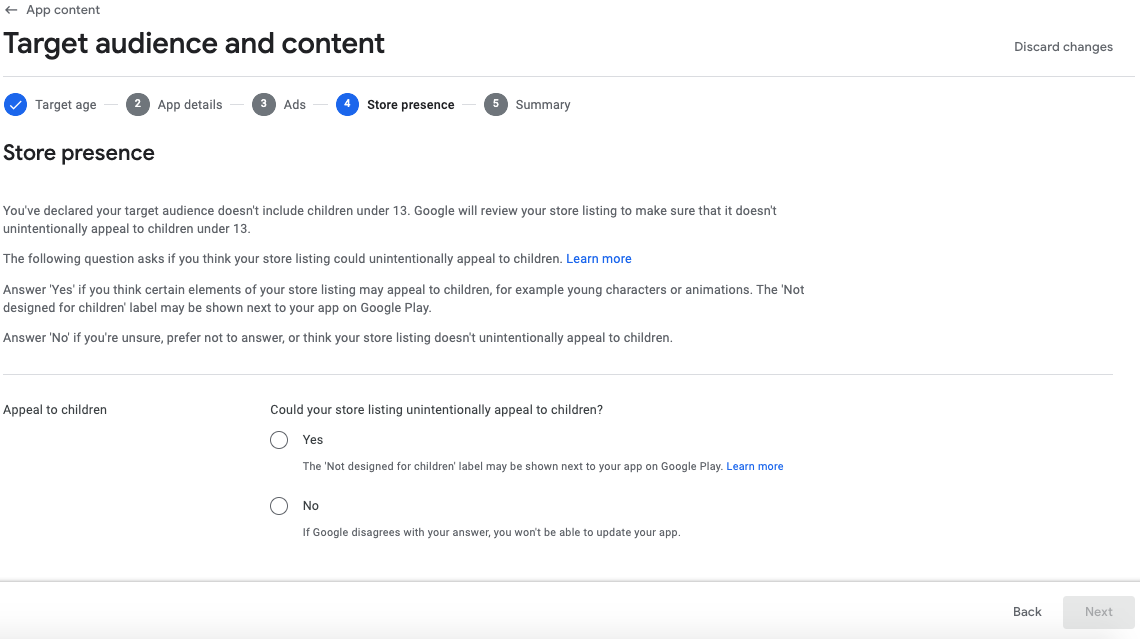
E. Target audience and Content
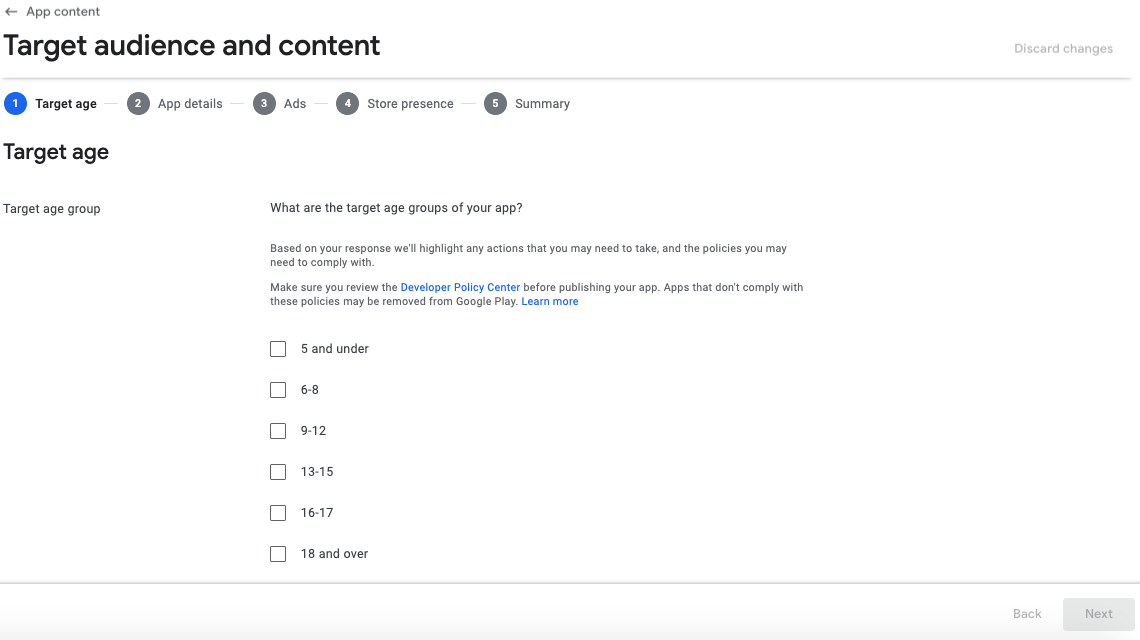
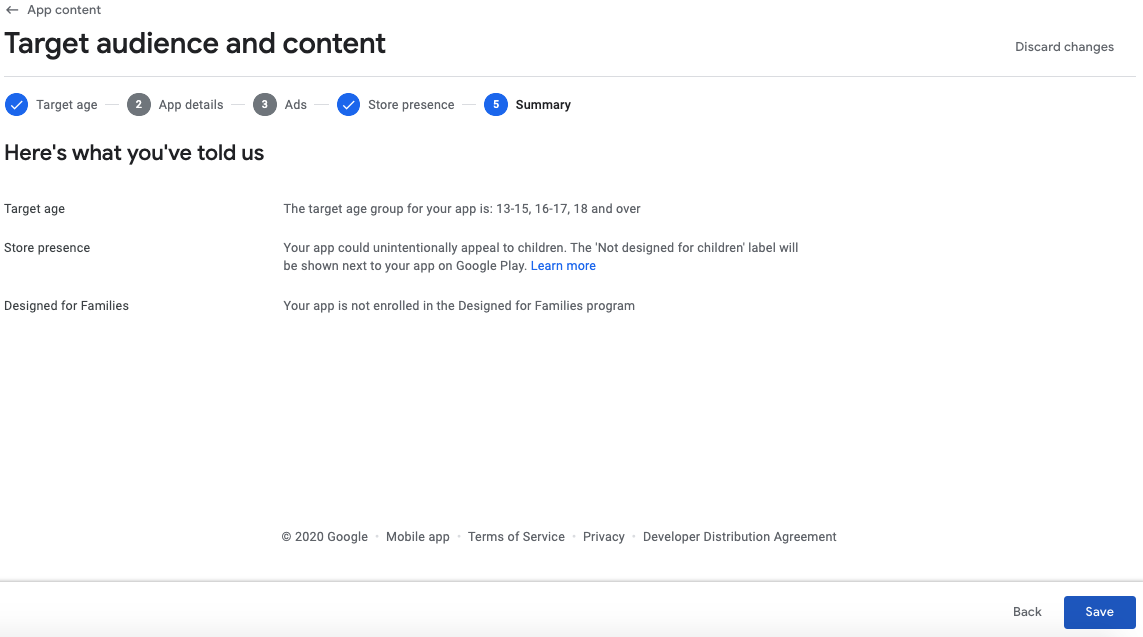
Answer the questions and click on NEXT.
Check your answers and click on Save.
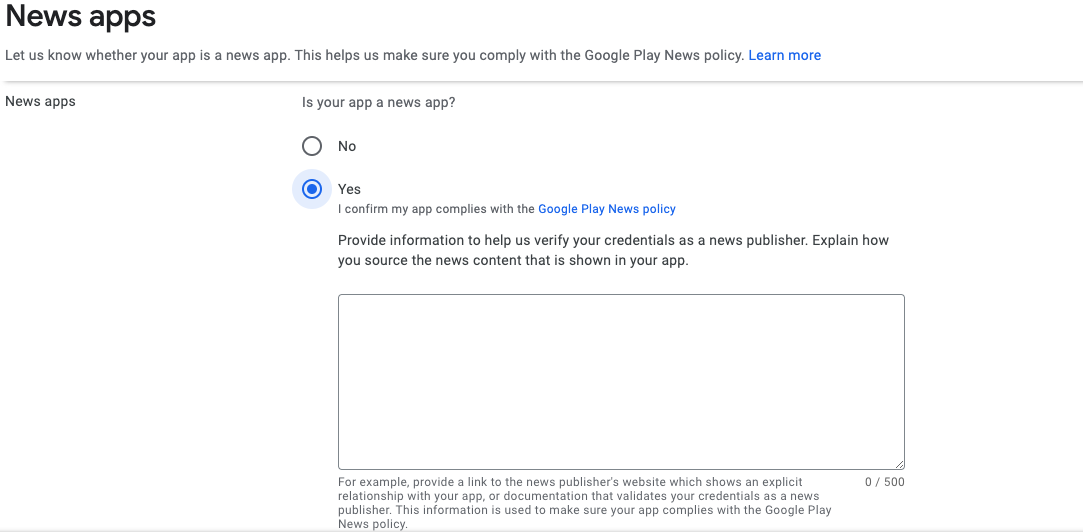
F. News apps
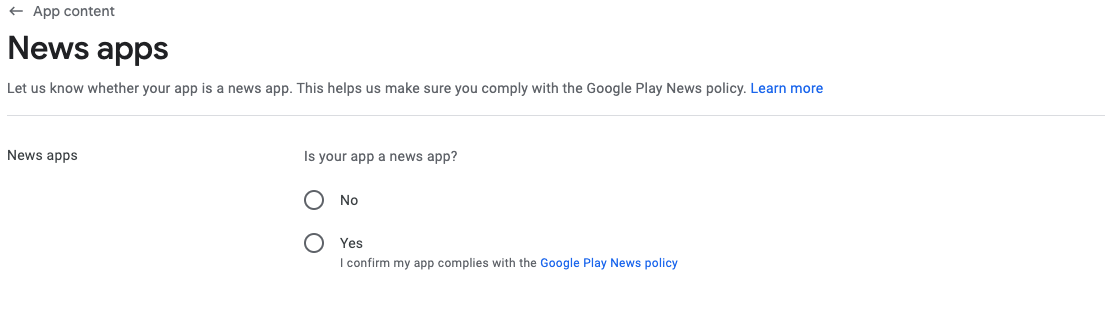
Select if your app is a news app or not. If your app is a news app, you will have to provide information to Google to help them verify your credentials as a news published.
16. Return to Production tab, in Releases click on Edit.
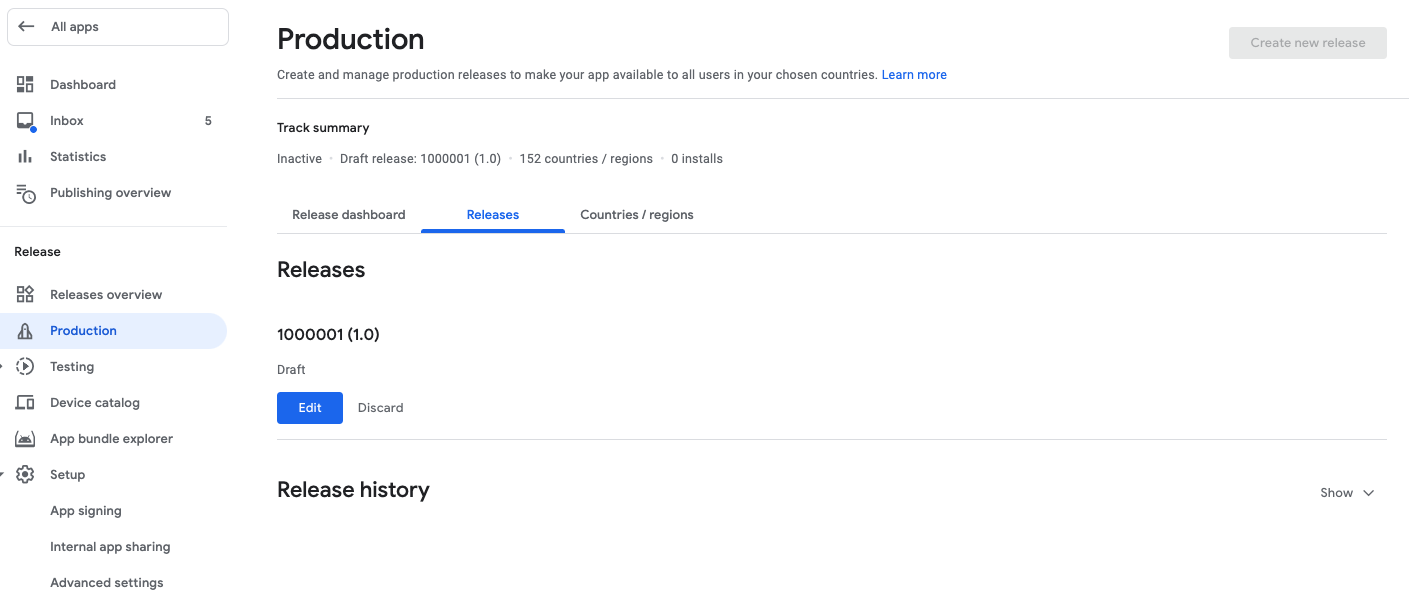
Then click on Review release.
On the next step, you might see warning messages.
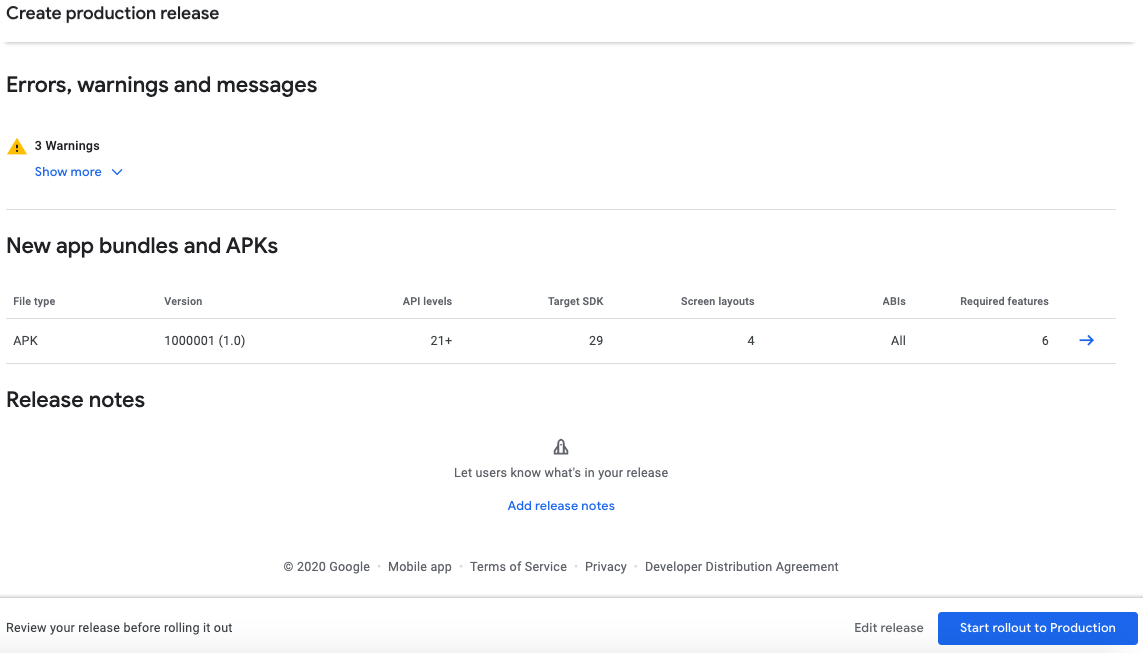
These are just warning messages, it does not prevent publishing the app on the Google Play Store.
Click on Start rollout to Production.
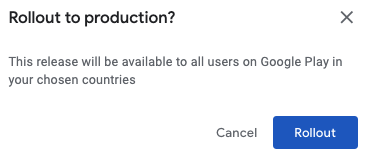
And to finish click on Rollout.
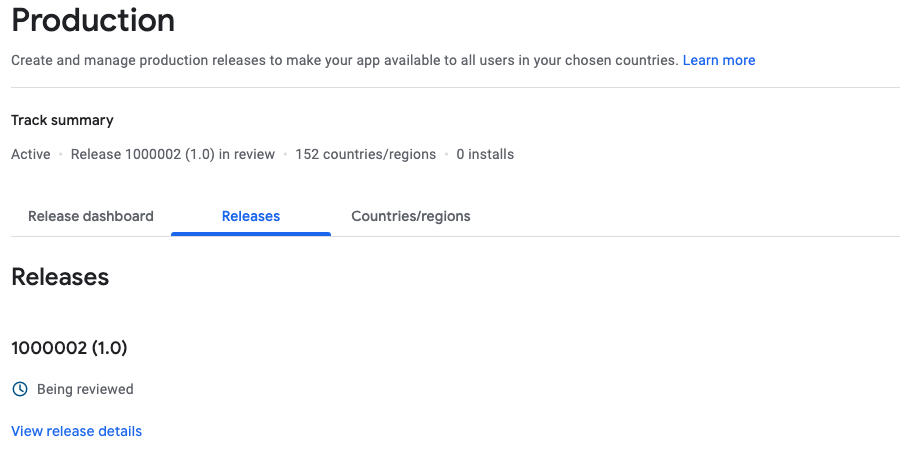
The App is now submitted.
(The status of the newly submitted app should now show as Pending publication and it should be available on the Google Play Store within a few hours.)